✔Fast-Dry Stencil Lock
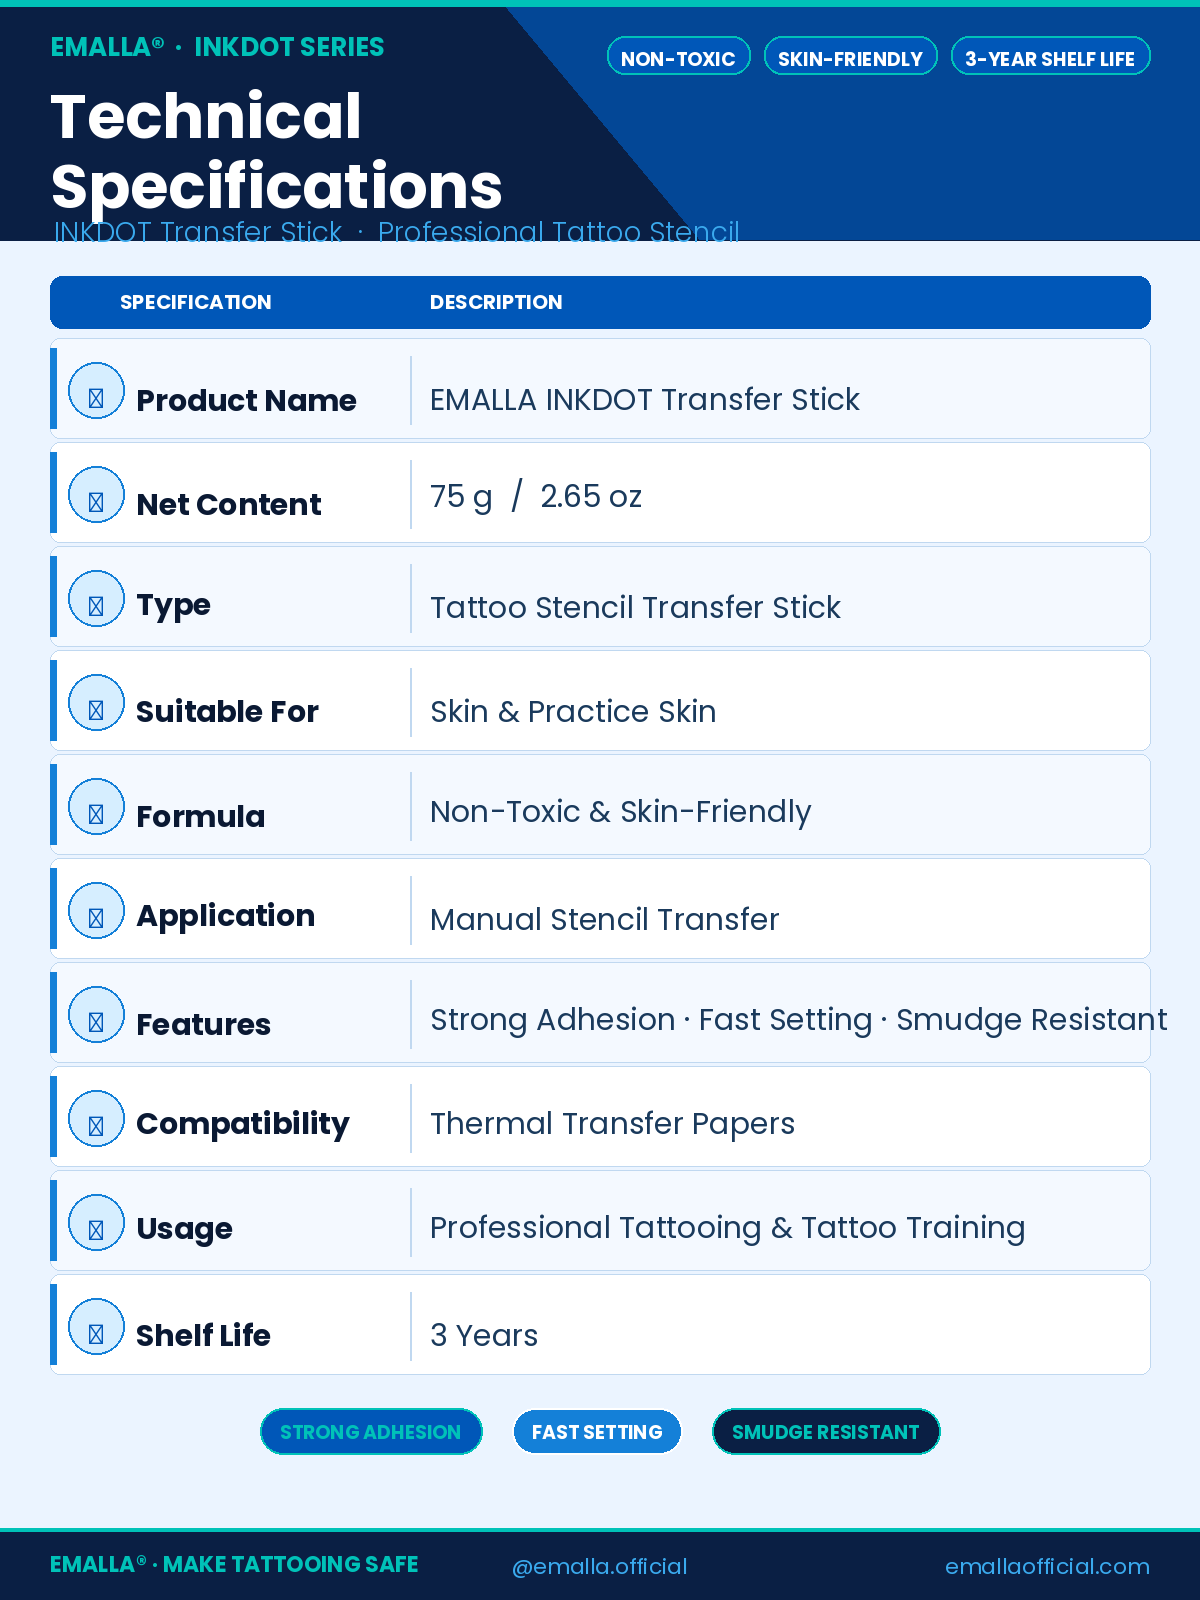
Sets your stencil within seconds of application — no waiting around between clients. Keeps your studio workflow moving, especially on busy back-to-back session days.
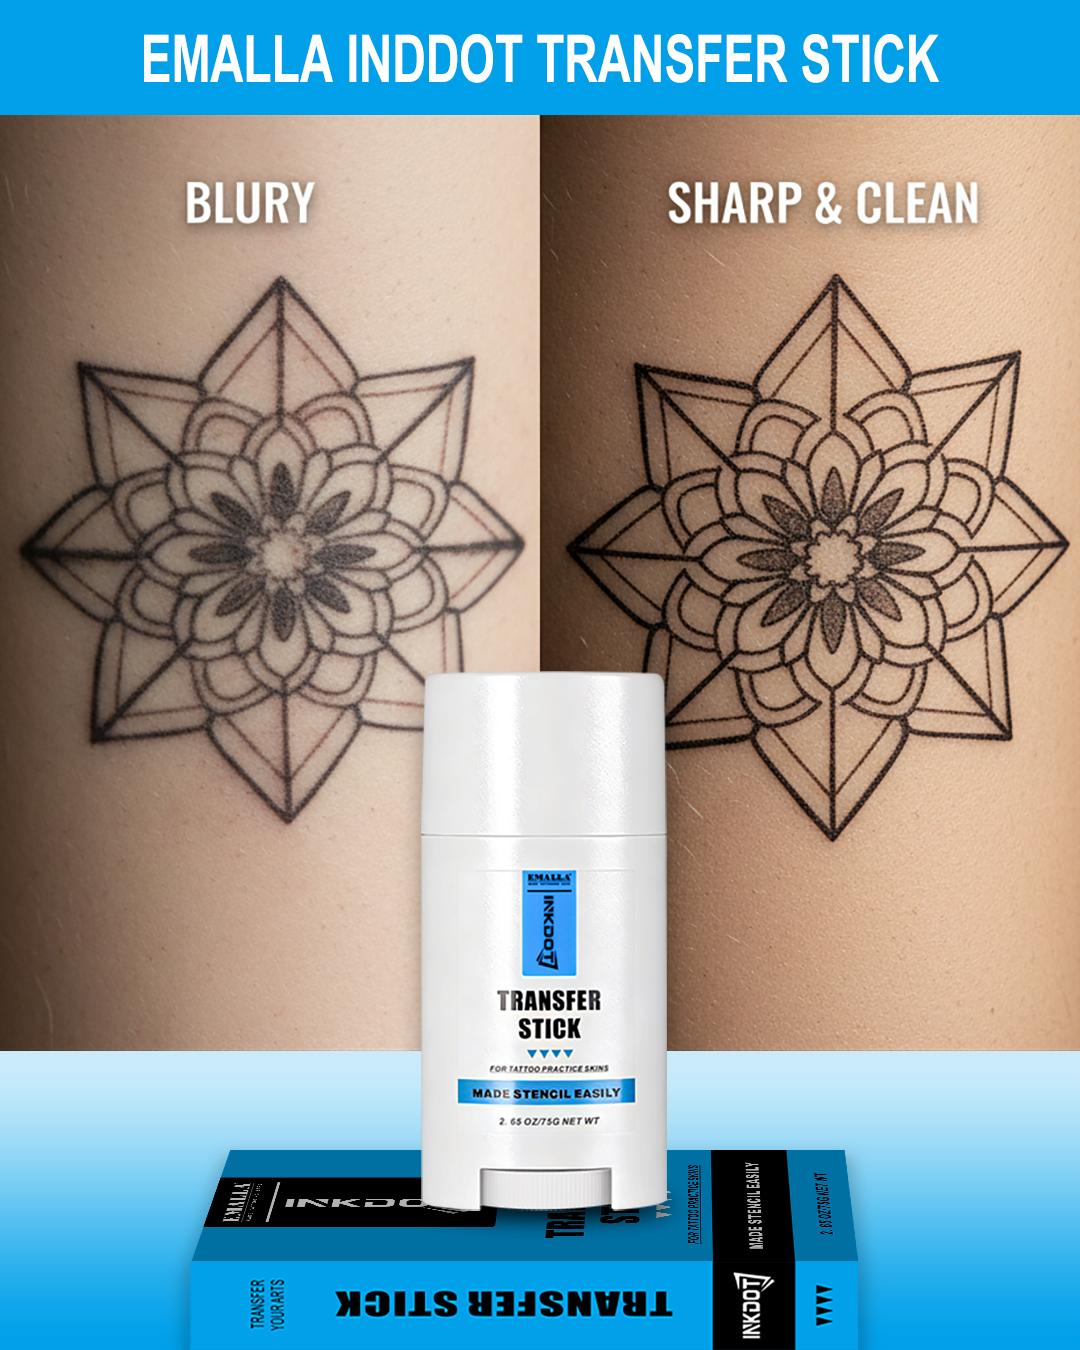
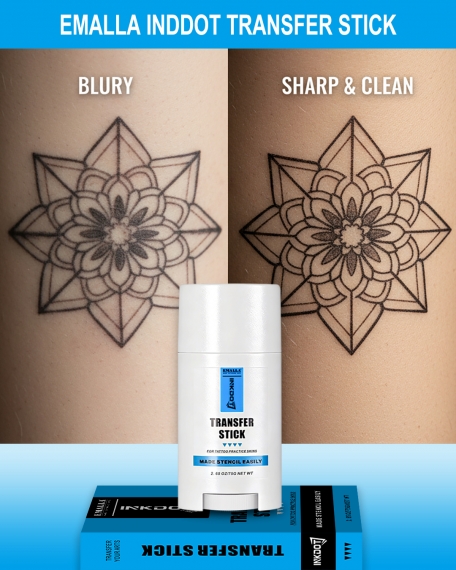
✔ Smudge-Proof Hold, Start to Finish
Creates a thin, invisible layer that locks stencil lines firmly in place. Resists wiping, friction, and sweat — your outlines stay sharp and clean from the first needle stroke to the last pass.
✔ Safe for All Skin Types
Dermatologist-tested, free from harsh chemicals and known irritants. Works gently on all skin types — including sensitive skin — with no sticky residue or discomfort after application.
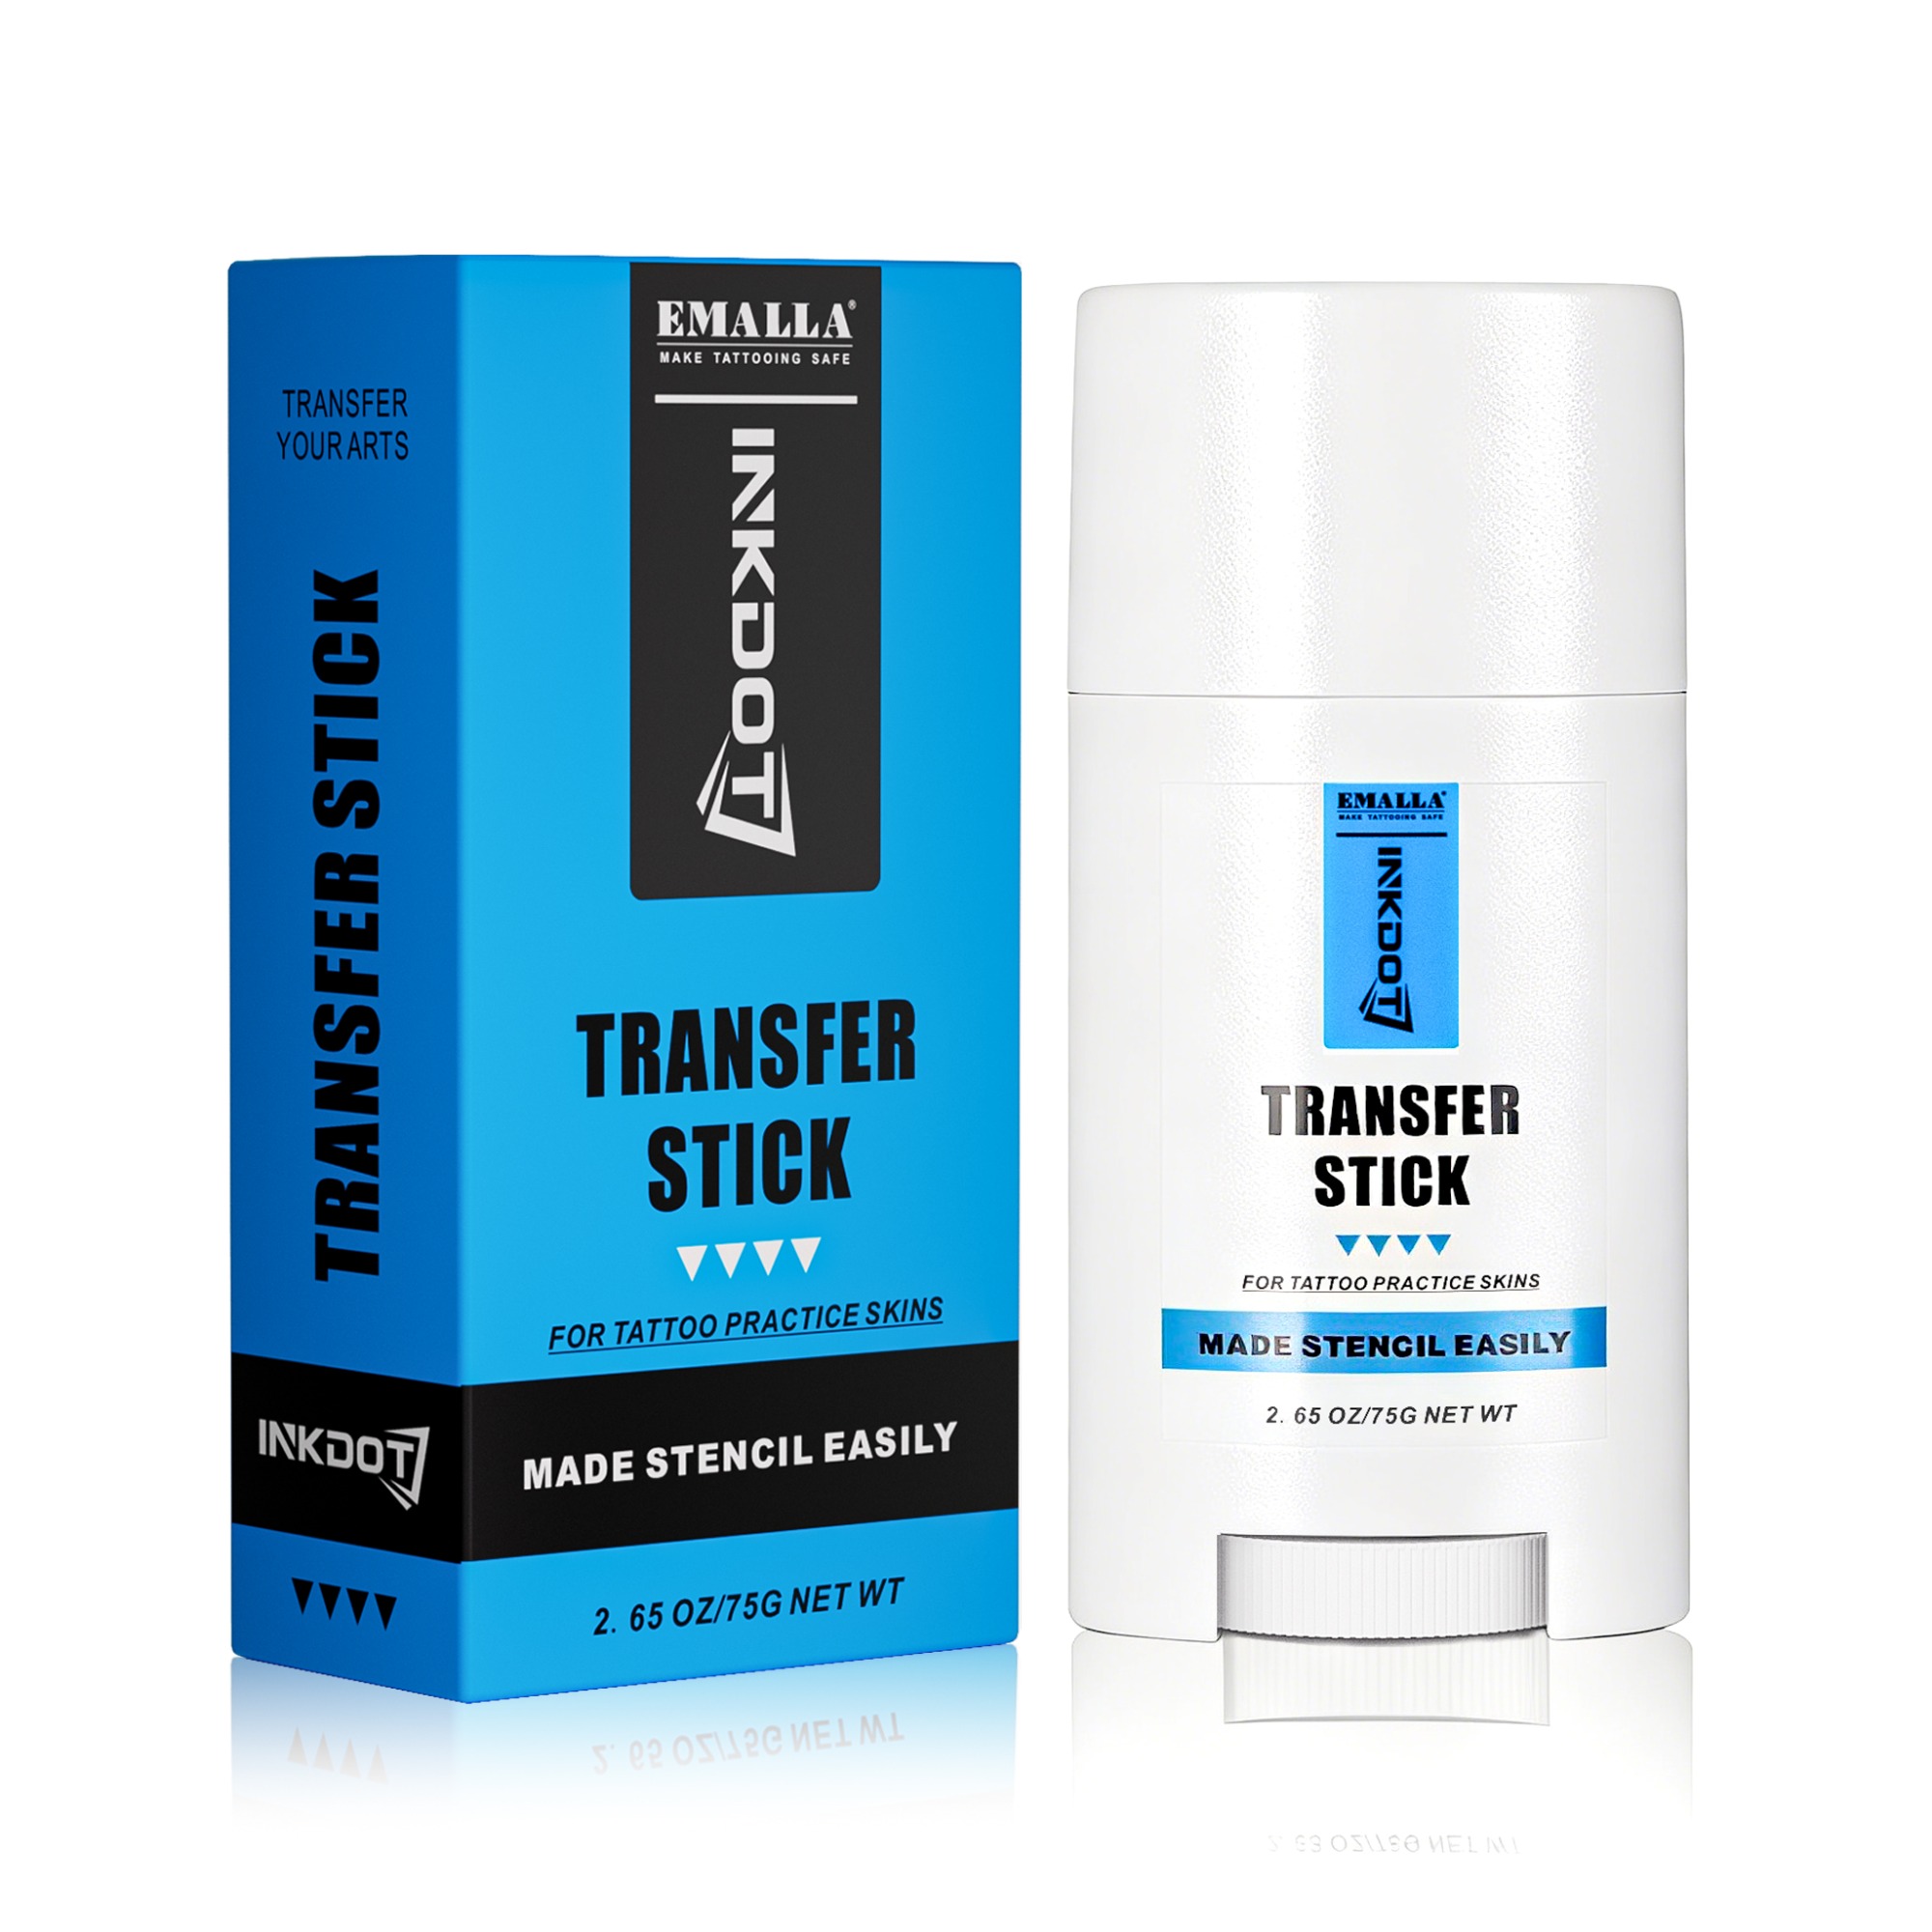
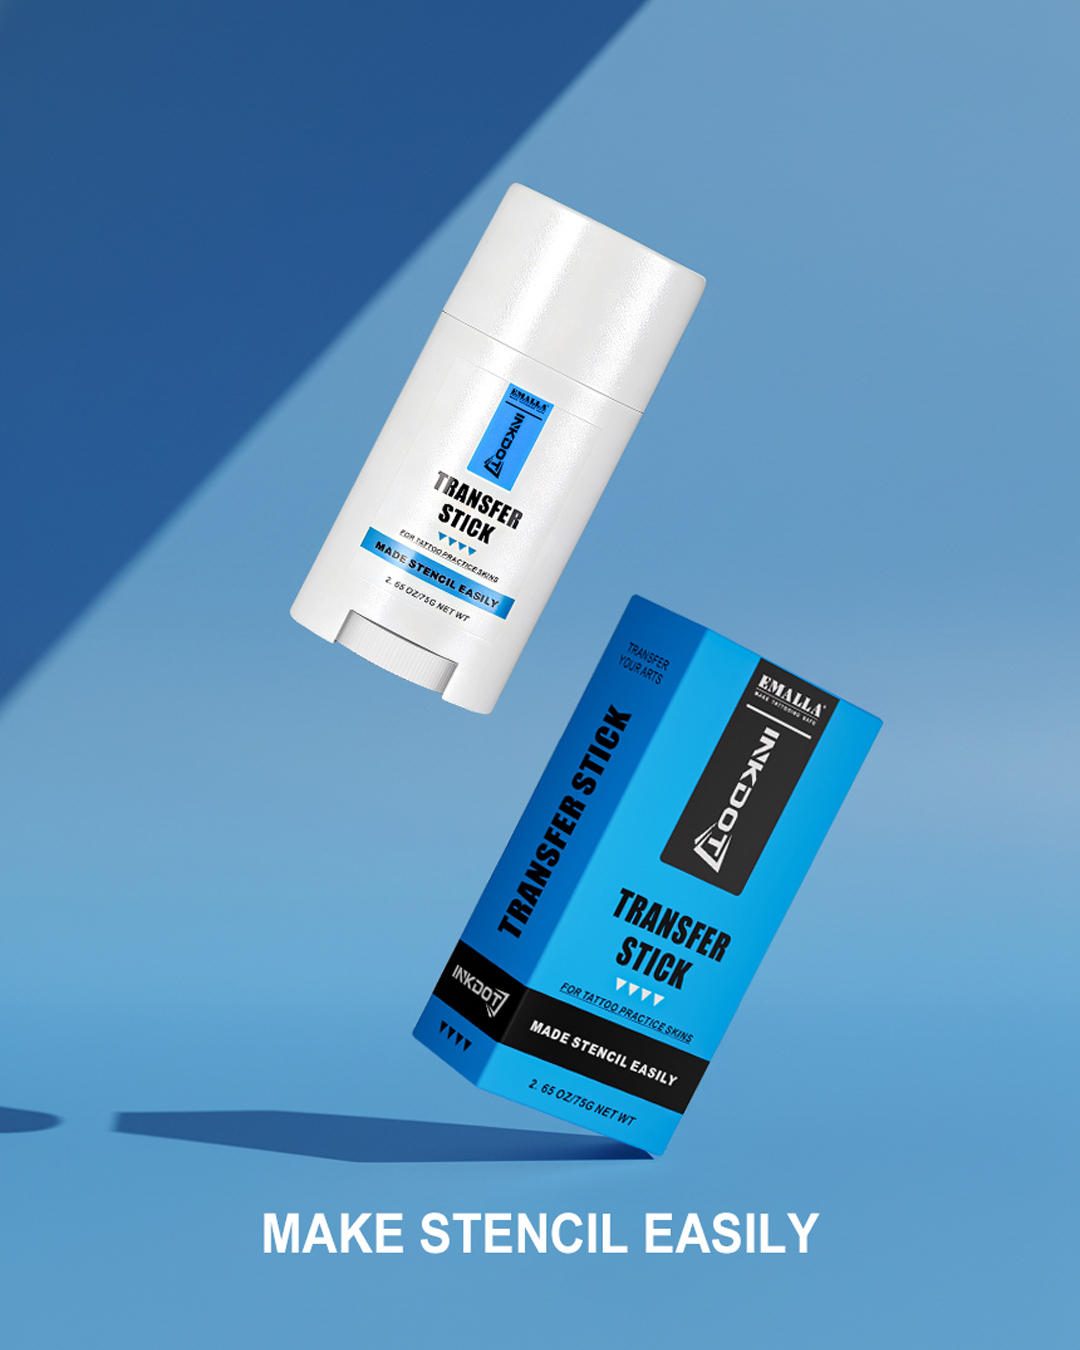
✔Mess-Free Stick Format
Direct application, zero dripping, zero waste. The smooth-glide solid formula spreads evenly with full control — exactly what you need when working fast under studio pressure.
✔ Works with Everything
Compatible with all transfer papers, stencil gels, and pastes. Whether you're doing fine-line micro-realism or large-scale body work, it performs consistently across all styles.
✔ Built for Studio Efficiency
Designed for professional tattoo artists from prep to execution. INKDOT Transfer Stick cuts down setup time and keeps your stencil process tight — a reliable part of your daily toolkit.
✔Compact & Travel-Ready
Slim, lightweight, leak-proof. Fits easily into your tattoo kit for studio work or on-location jobs. The sealed design keeps the formula fresh between uses
Follow these professional steps to achieve a crisp, long-lasting, and smudge-proof stencil transfer every single session.
01 / PREPARE THE SURFACE
Action: Clean the practice skin or target area thoroughly with 99% Isopropyl Alcohol.
Goal: Allow the skin to dry completely. A perfectly clean base guarantees optimal stencil bonding.
02 / APPLY TRANSFER STICK
Action: Apply a thin, even layer of INKDOT Transfer Stick directly to the prepared surface.
Pro Tip: Do not over-apply. A light, smooth coating provides the sharpest and cleanest transfer results.
03 / APPLY THE STENCIL
Action: Place your stencil paper precisely onto the treated area.
Goal: Press firmly and evenly for 10–15 seconds, then carefully peel away the paper to reveal the design.
04 / LET IT SET
Action: Allow the transferred stencil to air-dry for 10–20 minutes before you begin tattooing.
Critical: For the best results, avoid touching, rubbing, or wiping the stencil during this drying phase to lock in the lines.